Mini Wall
Compact cabinet for a tight footprint.
See Mini Wall →
VapeVM setup guide
A carton, a round can and a foil pack each move differently. Measure the final retail package, choose a candidate lane and coil, and prove the setup with physical test vends.
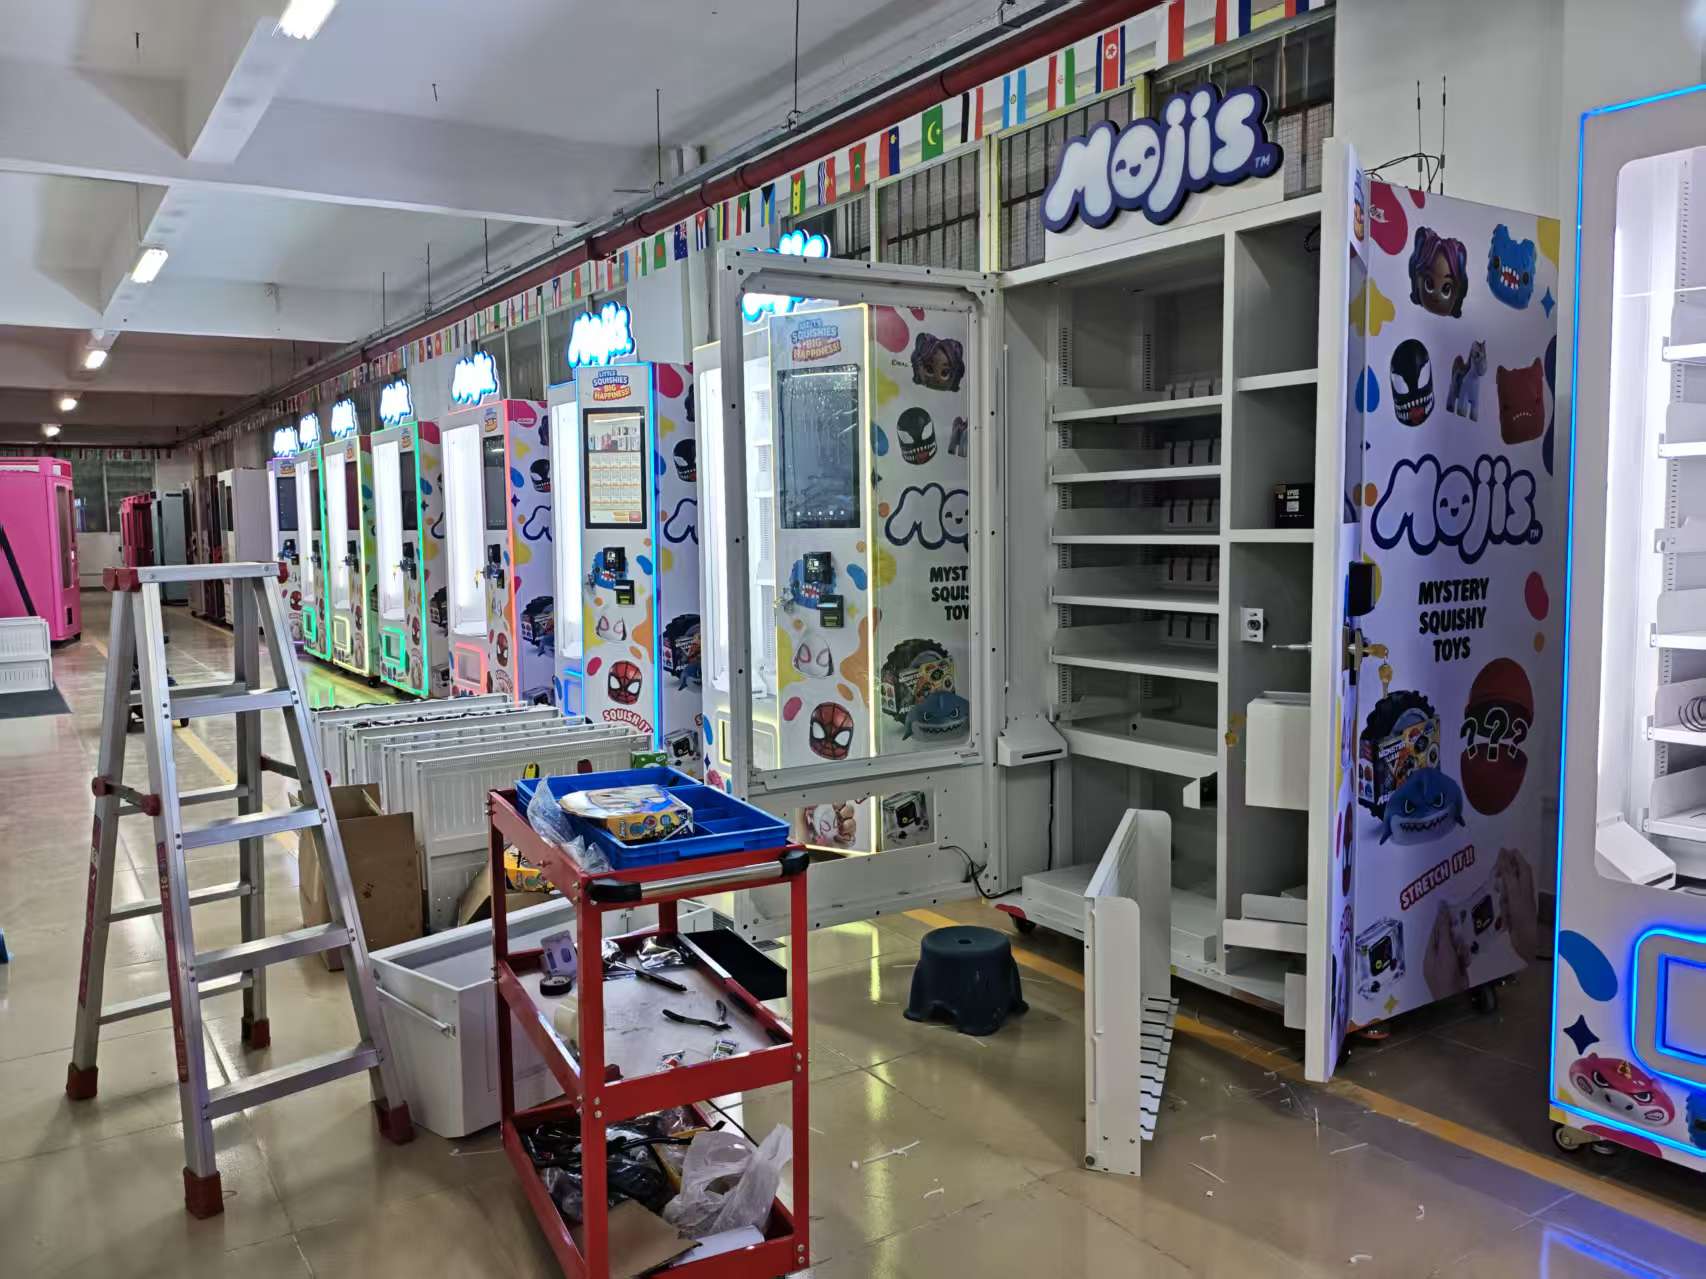
Package measurements
Use the actual sealed retail package and measure several samples. Include seams, tabs, a protruding lid and any sleeve or carrier.
Measure the widest point between the guides. Compare it with the narrowest clear width on the path, including any divider lip.
Measure front to back in the chosen loading orientation. This is the package dimension that has to clear the usable gap between two coil turns.
Measure from the tray floor to the highest point. Check clearance through the tray, at the front edge and at the pickup opening.
Record W × D × H in millimetres, packaged weight, and photos of the front, side and loaded orientation. Measure the installed lane separately.
Coil selection
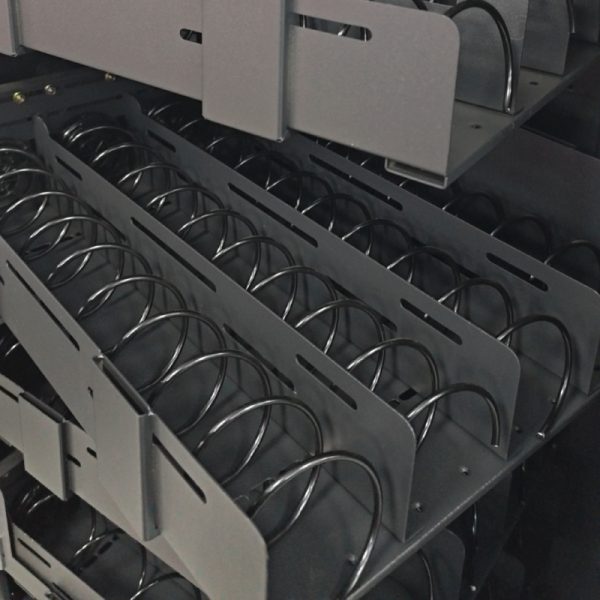
The effective gap is the clear space available between adjacent turns. Coil pitch is the centre-to-centre distance. Coil diameter is measured across the coil. Each affects a different part of the fit.
Published gaps for this specific 350 mm spring family. A 34 mm carton exceeds the 31 mm gap. The 35.5 mm option is a candidate if the mounted coil and actual carton allow reliable clearance.
| Nominal capacity | Coil length | Published effective gap |
|---|---|---|
| 4 pieces | 350mm | 73mm |
| 5 pieces | 350mm | 56mm |
| 6 pieces | 350mm | 47mm |
| 7 pieces | 350mm | 40mm |
| 8 pieces | 350mm | 35.5mm |
| 9 pieces | 350mm | 31mm |
| 10 pieces | 350mm | 28mm |
| 12 pieces | 350mm | 23mm |
| 14 pieces | 350mm | 18.5mm |
| 15 pieces | 350mm | 17mm |
| 25 pieces | 350mm | 8mm |
The accessory listing offers 22, 35, 45 and 55 mm diameter options. Confirm the actual length, gap and motor fit before ordering.
View replacement spring coils →Товары в коробках
Compare each SKU in its final box. Different pack sizes, outer sleeves and tamper flaps can change how the carton releases from the front turn.
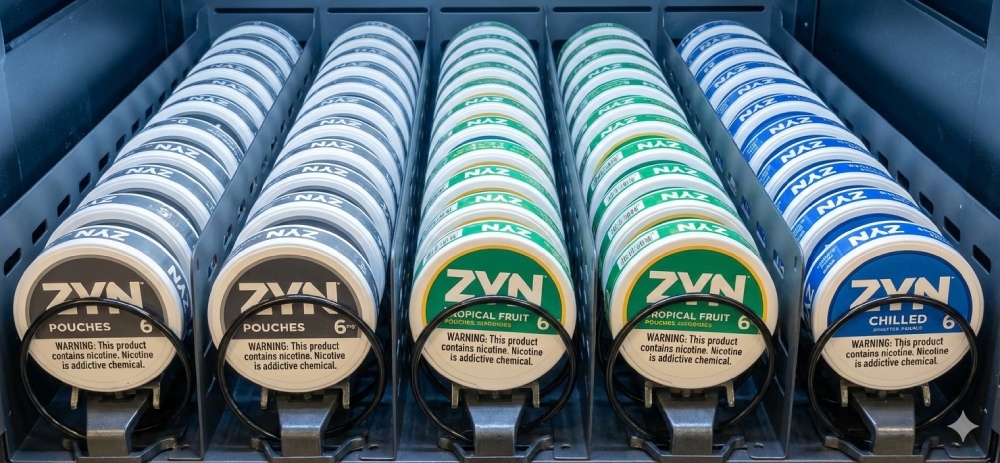
Round tins
A round can can roll, tilt or release as a pair. Start by choosing a stable orientation for the installed tray, then measure the package in that position.
Trading cards
Loose foil, sleeved boosters and rigid boxes need separate tests. A flexible pack can fold into the coil or slide under a turn.
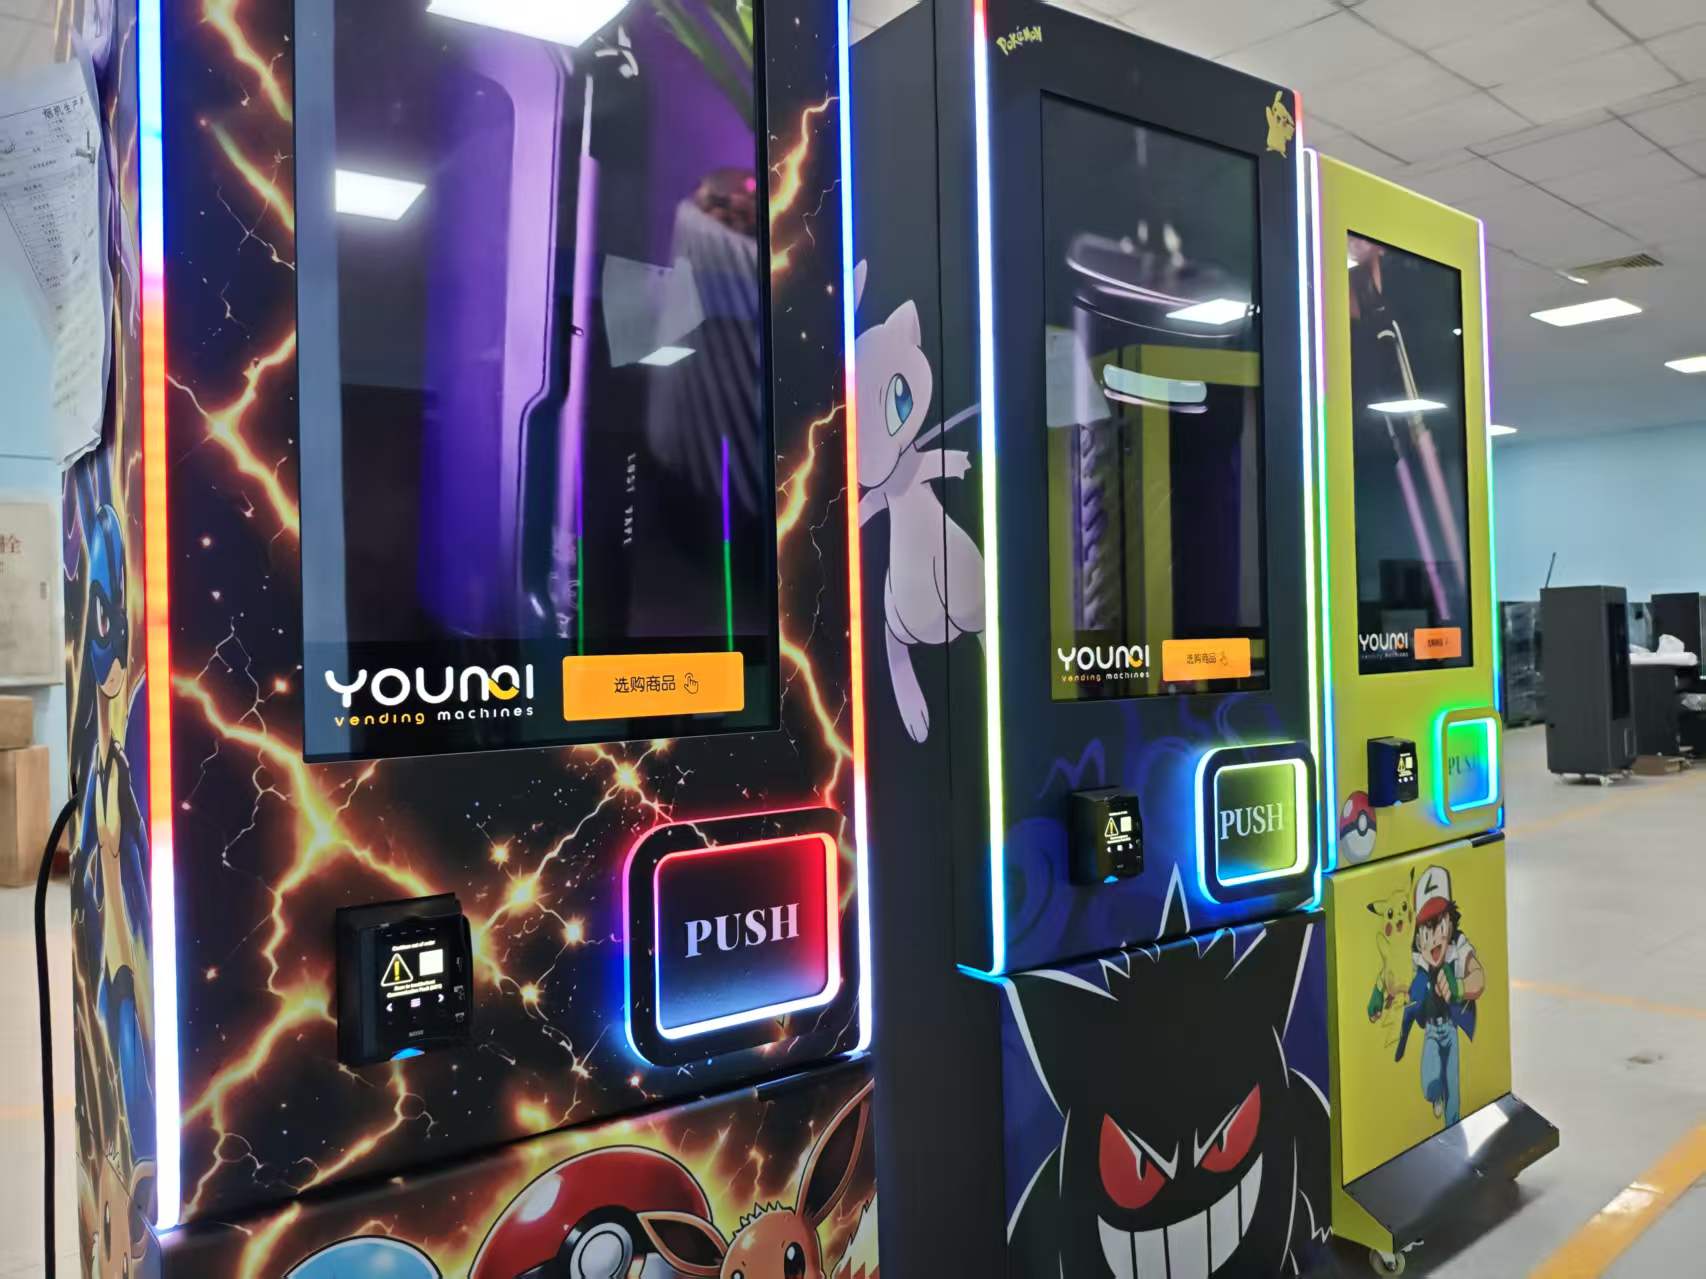
Release check
Run the machine’s approved test-vend function with the cabinet secured and the pickup area clear. Refill between trials to reproduce the intended load level.
Start at the planned fill level. Watch that the lead package clears the release point without dragging its neighbour.
Use separate loads to test a partly filled lane. Watch for product tilt, sidewall contact or a second item moving through.
Reset to the last item between attempts. Confirm it reaches the pickup opening intact every time.
A practical starting screen is 10 test vends per load condition, 30 per package and lane setup. Record model, lane, coil, loading orientation and outcome. Pause on a miss, double, jam or damaged package, correct the cause and rerun the check. Retest if the coil, divider, packaging or orientation changes.
Select a cabinet
Confirm the intended SKU mix with the factory so the configuration is based on your package dimensions and actual samples.
Compact cabinet for a tight footprint.
See Mini Wall →Wall-format cabinet for an alternate screen and mounting setup.
See Flex Wall →28 lanes in a 7-row × 4-lane configuration.
See Max Wall →